Past few days I have been getting tons of compliments about my skin! And as a result I was requested to do a skin care routine and a foundation routine. I have already started a skin care routine series and this is going to be my first post on my foundation routine.
Well I don't follow these steps for regular or usual foundation routine. I tend to go for lighter foundation base as too much foundation makes me uncomfortable and always reminds me I have tons of layers on my skin. My skin feels heavier :/
But I do follow this particular steps for party make up. I believe this kind of foundation routine can also be applied to the brides for their wedding programs, like "Gaye Holud", Engagement Party and other stuffs. I have already done an engagement party make up on a bride following these steps and was hugely appreciated!
Though I am calling this my foundation routine, I have also tried to explain my contouring and highlighting ways briefly here.
Also I have tried to explain "why I do what I do" wherever I feel it's necessary.
Please note that, these are the steps that I follow to make my face flawless and to hold the make up for longer time as my skin is super oily and my make up tends to wear off as soon as I start applying. So I religiously follow these steps to keep my make up in place. You can always remove/ignore any steps you don't feel you need.
Oh one more thing! This post contains the WEIRDEST possible pictures ever clicked on me!!!! I look weird, mad, crazy, unorganized, stupid and what not!!!!! So please never mind for them :)
So let's get started!
Step 01:
I start with spraying UD De Slick (
review here) all over my face and then let it dry.
Step 02:
I apply oil control primer on my T-Zone. I use Smashbox Photo Finish Foundation Primer (Oil Free version).
Step 03:
On the rest of the face specially where I want it to glow and reflect some light, I use MAC Prep & Prime Skin Base Visage (
review here).
**I always wait for 15-20minutes after I apply my primer and before I start applying my foundation.
Step 04:
Then I apply my eye primer and I use UDPP in Original which is my HG primer till date (
review here).
Step 05:
This is the first layer of foundation I apply. My favorite foundation is NARS Sheer Glow foundation and I use two shades to get a perfect match to my skin tone (
detail review and swatch here). I dot the foundation all over my face and then I take my favorite foundation brush which is Sigma F84, spray some MAC Fix+ (
review here) on the bristles and start blending the foundation.
The reason I spray Fix+ is I want my first layer to be sheer.
Step 06:
When I apply my first layer of foundation, I apply two dots in the inner corner of my eyes. I don't blend them with the foundation brush and Fix+, instead I blend them with a eyeshadow blending brush like Sigma E40.
Step 07:
Then I spray UD All Nighter Make Up Setting Spray (
review here) all over my face and let it dry.
**After this step I move onto my eyes and do the eye make up, if I am doing a heavier eye make up and there are chances of fall outs.
Step 08:
After I am done with my eye make up (if you want to see a step by step pictorial of the eye make up then click
here) I come back to my face again. It's time to apply the concealer. I use MAC Studio Sculpt Concealer (
review here) on the spots that I need to hide excluding under eye circles. I apply this concealer with a stiff brush and keep dabbing it with my fingers until it sets and blends with my skin.
The reason I use this concealer with my fingers and use dabbing motion is that I think the heat from my fingers help this concealer to set well on the skin.
Step 09:
Then I spray UD All Nighter again to make sure that my concealer doesn't move.
Step 10:
This is when I apply the second layer of foundation. Foundations generally oxidize a lot on my face so this time I use only the lighter shade of NARS foundation which is Barcelona. I dot it on my face and this time blend it with a dry brush without MAC Fix+ to achieve a bit more coverage.
Step 11:
If you can see, my under eye circles are still visible and now it's time to conceal them. I use NARS Radiant Creamy Concealer in the shade Custard. I apply as much product I need under my eyes and then blend it again with an eyeshadow blending brush and that is Sigma E40.
Step 12:
It's time to set my under eye concealer. With the help of Sigma E40 again, I lightly apply MAC Select Sheer Loose Powder under the eye where I have applied my concealer. Sorry forgot to click my camera :/
Step 13:
I tend to apply a powder foundation on top of my liquid one as I believe it helps my make up to stay put for a longer time. With a blush brush like Sigma F05 I apply MUFE Duo Mat Powder Foundation. You can use any other powder foundation like MAC Studio Fix which is a great powder foundation of all time.
Step 14:
Doesn't my face look like a dead piece of meat? yes, it's time to bring back colors to my face. With a darker shade than my skin tone, I start contouring my cheeks, nose and hairline. You can use anything to do this part starting from eyeshadow to bronzer to a dark blush. Just make sure it's 2-3 shades darker than your skin tone and that you blend well so that there isn't any visible harsh line. I have used Sigma F05 brush for contouring my cheeks and MAC 217 brush to contour my nose. The shade I have used is Urban Decay Eyeshadow in Buck.
**I also do my eyebrows in this step but as I suck doing eyebrows so I intentionally avoided clicking photos for this step :P
Step 15:
Time for a little color on your cheeks. Apply a blush on your cheeks. There are various ways of applying blushes and you can pick your way that suits you the most. I tend to apply my blushes slightly away from the apples of my cheeks. I have used Smashbox Posy Pink blush with the help of Sigma F05 again!
Step 16:
Who doesn't want their face to look glowy? I absolutely LOVE LOVE LOVE to highlight my face, specially my cheekbones. I kind of have high cheekbones and I love highlighting them. With an eyeshadow blending brush like Sigma E40, I pat highlighter on the cheekbones, on the bridge of my nose, on my temples, and on my chin. You want to highlight the parts of your face where the light will hit more and the parts you want to accentuate more. I used my favorite highlighter here, which is an eyeshadow fromUrban Decay and it's Virgin! :D
Step 17:
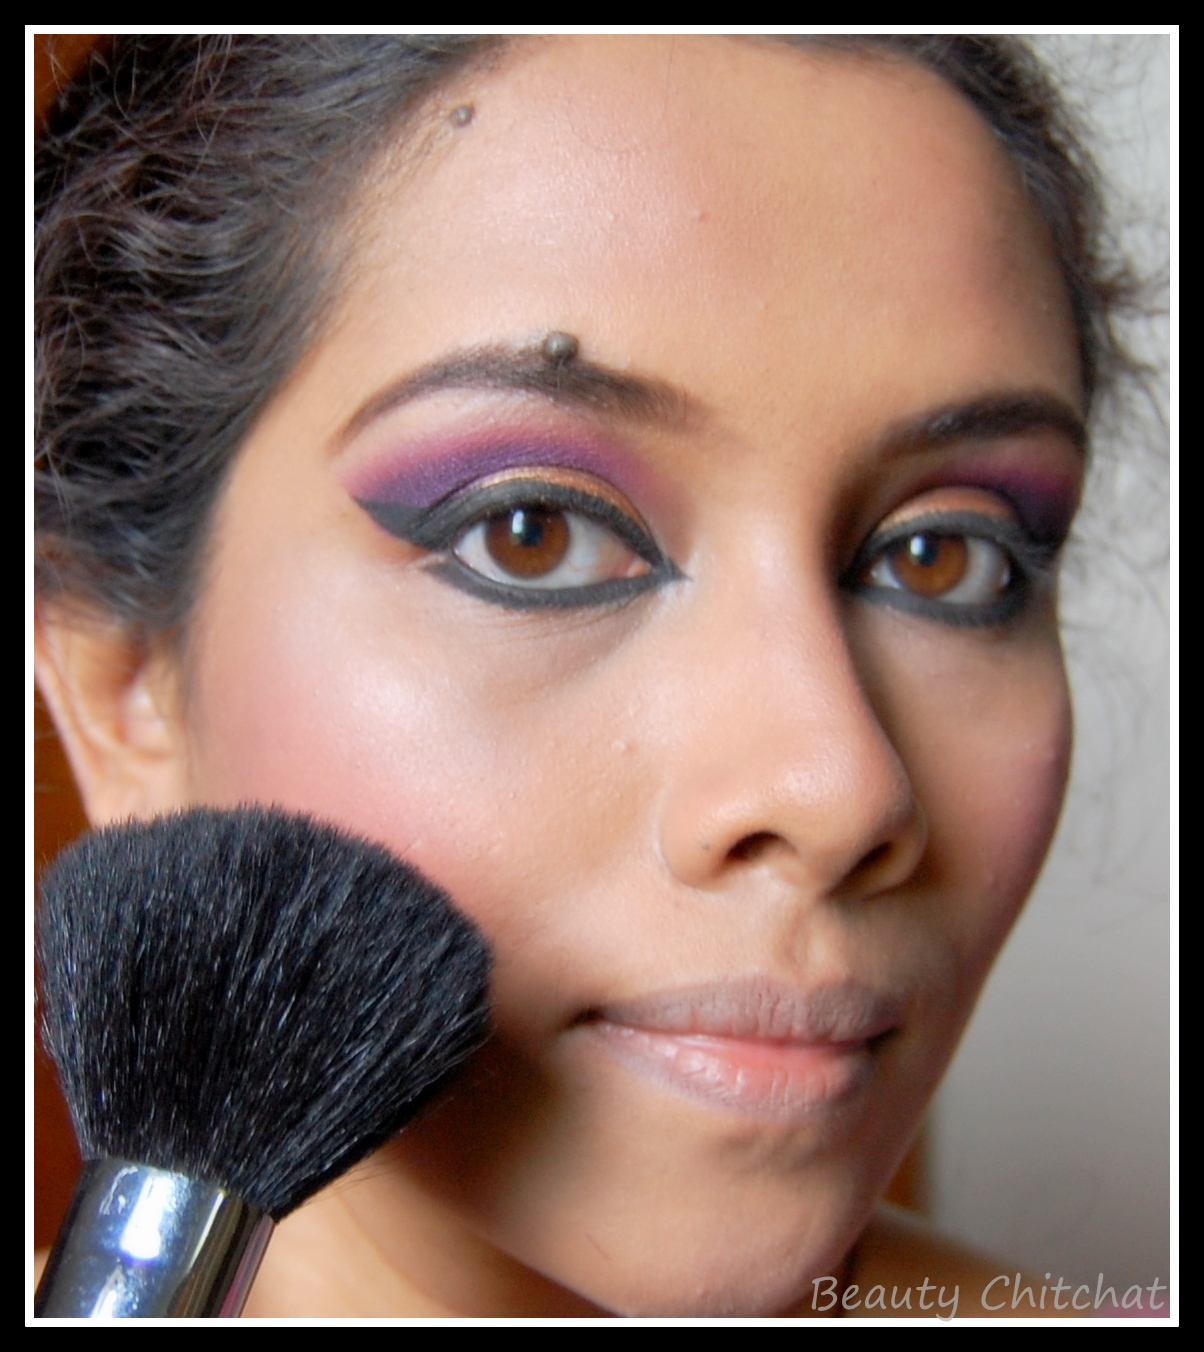
Blend the contouring shade, blush and highlighter with a large powder brush like Sigma F30.
Step 18:
I know you may find it weird but I love to lock everything with a transparent finishing powder and my favorite is MAC Prep & Prime Transparent Finishing Powder (
Review here). Again with a large powder brush like Sigma F30 I apply this powder very lightly all over my face excluding the eyes ofcourse. Then again seal the whole make up with UD All Nighter Spray again! Again No photos of this step :/
Yes!!! I am done!!! I know it's a lengthy process and requires a lot of products, but I have learnt to come to this routine after a lot of research and experience on my skin and I find this works better for my skin.
Also, I have paired both lighter lip colors and darker lip colors. Let me know which one you like most!
Please DO make sure that you always apply foundation and setting powder on your neck and ears and the related bare skin to match your face. I haven't applied anything on those parts here as I was lazy and I wasn't going out anywhere :P
Let me know if this routine was helpful for you in comments.
Love and regards,
Eeshita.